How to Run ZFS on VMware vSphere: Setup Guide and Best Practices
Table of Contents
Introduction
I have run a number of systems using ZFS since the earliest days of my homelab using Nexenta, all the way back in 2010. The image below is my lab at the time with an IBM head unit that I think had 18GB of RAM 6x450GB SAS drives and this was then connected to the Dell PowerVault SCSI Array above it with 14x146GB 10K SAS drives….

The number one rule is to ALWAYS give ZFS access to the underlying raw storage. You don’t want a raid controller or anything else interfering with the IO path. This is similar to how vSAN works with VMware.
But rules are meant to be broken right…..
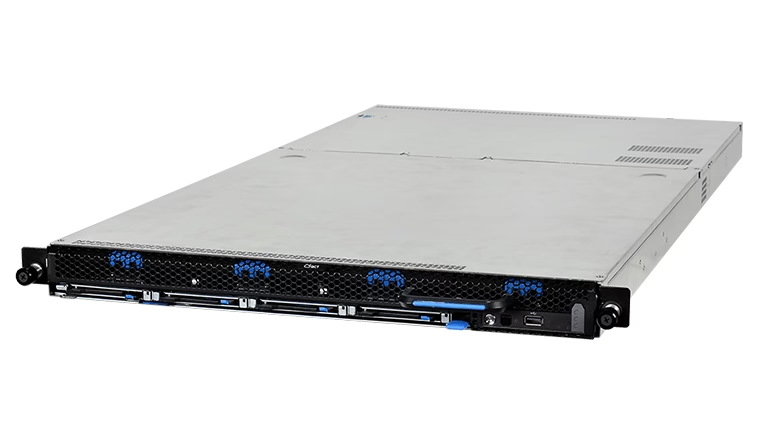
I have virtualized a few copies of TrueNAS Scale and Core using ZFS on top of VMware. In these particular instances I specifically DON’T want to pass through the storage HBA. Why would I do this? Mainly for two reasons. This allows me to test upgrades of my physical TrueNAS setup with an easy rollback if needed by not passing the drives or controllers in I can clone and snapshot the VMs just as if it was any other and move it around my lab infrastructure.
Copy on Write
ZFS is a “Copy on Write” file system which means that it never overwrites existing blocks of storage. It always places writes into new blocks. This is unfriendly with “thin provisioning” something I am a huge fan of. This means that over time even a tiny database writing one megabyte file over and over again will slowly clog the entire file system.
So if you’re going to break the rules. The way I see it is you might as well do it properly
The first requirement is that the VMs be provisioned with thin disks in vSphere. If it is not thin then unmap won’t work. This is important in case you are thin at the underlay storage level.
Disk IDs
What you also need to do is to ensure that TrueNAS can see unique disk IDs. To do this shut down the VM’s and add the following parameter to the VMware VM’s configuration
disk.EnableUUID=TRUEOnce this is done when you power the VM’s on you should be able to see unique serials of each disk similar to this screenshot. Prior to this change, the serial section is blank.

Trim
Once the disks are seen as unique it is possible to enable trim. To confirm that trim is working execute the below command. ( I have no idea why this is a blocker but it is)
Sudo pool trim Pool-1I decided to manually enable it by executing the command in the shell. (my Pool is called Pool-1)
To confirm that trim is working, execute the below command
sudo zpool status Pool-1If everything is working you will see trimming running next to the pool.

A further validation that this is working is to review the VM’s storage used, see the before and after of this VM’s storage


Additional confirmation can be seen by reviewing the underlying (vSAN consumption in this case). Before and after listed below.