My Home Office Setup & Upgrades
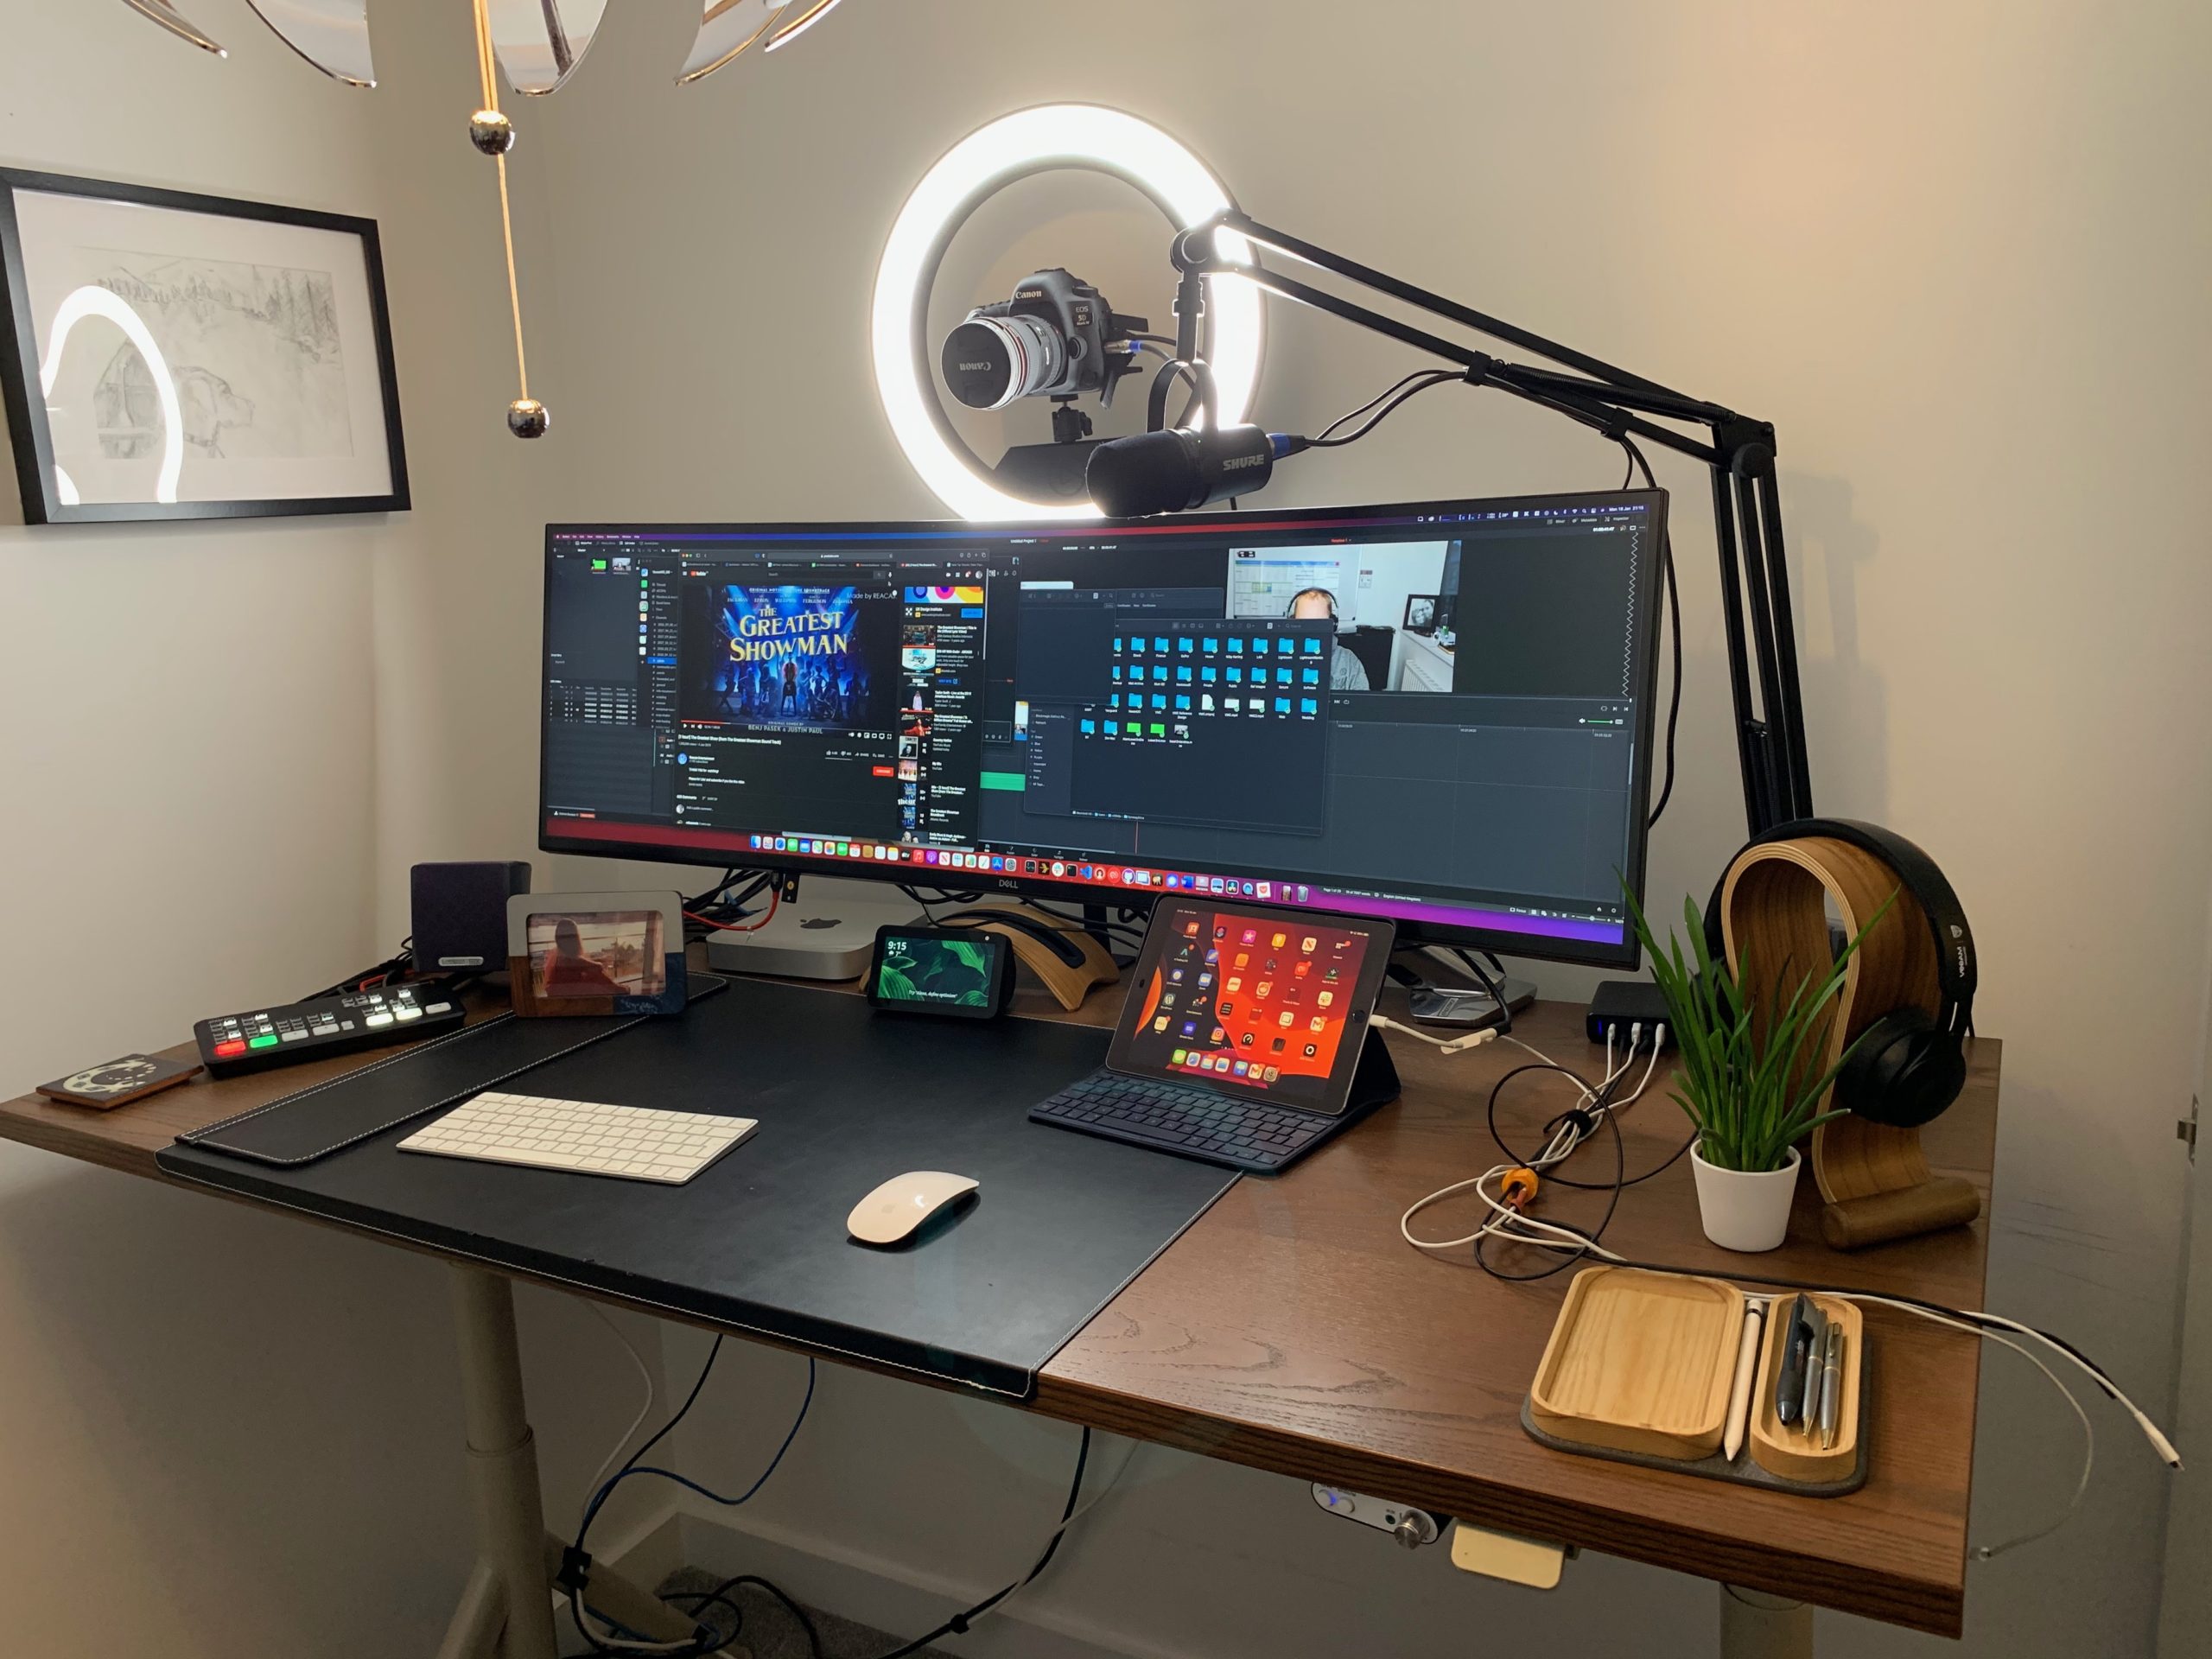
Given the year that was 2020 and at the time of writing a distinct improvement appears a long way off I decided it was time to up my homeworking game. I bought a beautiful Dell 49″ monitor back in mid-2020 that has been the central focus of my home office. With this setup I always had my trusty Macbook Air shut as I have no need for any more screen estate. This caused some challenges for video calls with the ever-present Zoom/Teams as the webcam I was using was no longer available.
I tried a few options to improve this but they were all a bit suboptimal. I decided to do a few drastic upgrades over the last month or so. This post is to show exactly what I’m running as of January 2021.
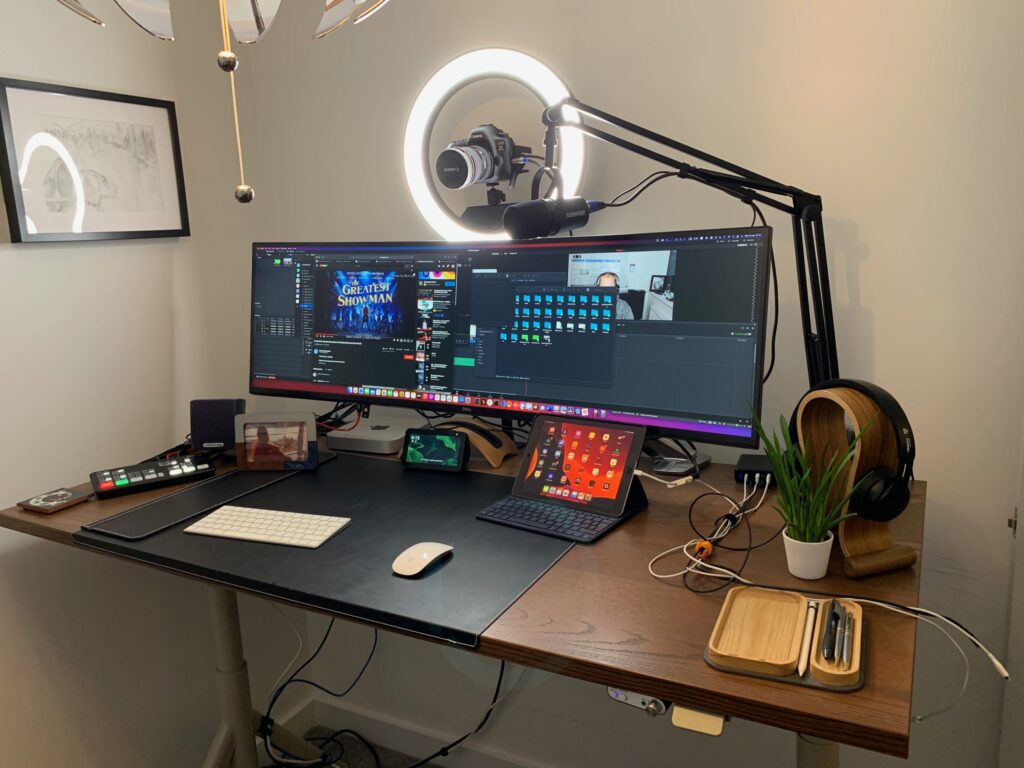
A few people have asked me exactly how I have my desk setup so this is an exhaustive list of everything on my desk, however, not everything is a recent purchase.
I’ll start with the BOM. I have attached a link to where they can be obtained (If its an Amazon link it will be an affiliate link) and the price I paid. If the exact item is no longer produced the link will go to an equivalent. I won’t go into detail on every component but if you have any questions please ask.
Bill of Materials
| Item | Cost £ | Link |
|---|---|---|
| Standing Desk | 500 | Ikea |
| Headphone Stand | 22.90 | Amazon |
| Laptop Stand | 19.99 | Amazon |
| Apple Macbook Air 2018 13″ | 1779 | Apple |
| Apple iPad Pro 9.7″ | 599.39 | Apple |
| Apple Pencil | 99.99 | Amazon |
| Dell 49″ Monitor | 1100 | Dell |
| Ergotron MX | 119.76 | Amazon |
| Elgato Ring Light | 189.95 | Amazon |
| Canon EOS 5D Mk IV | 2799 | Amazon |
| Canon 17-40MM F4 Lens + Hoya UV Filter | 573 | Amazon |
| Blackmagic Design Atem Mini | 303 | Amazon |
| Shure MV7 + Stand | 289 | Amazon |
| Anker USB-C Charger | 29.99 | Amazon |
| Amazon Echo Show 5 | 29.99 | Amazon |
| Yubikey 4 | 39.99 | Amazon |
| Beats Solo Pro* | 169.99 | Amazon |
| Knobsound Amp | 41.99 | Amazon |
| Assorted Cables | 100 | N/A |
| Total | 8306.93 |
Desk – Ikea Idasen Sit/Stand 160
The desk is the focal point of a home office and therefore it’s an important choice. I decided a while ago to go for a standing desk and I also prefer having a wide desk so I got the 1.6M wide Ikea Idasen desk and its awesome. I don’t stand as often as I possibly should but its something I do everyday.
The choice of a standing desk makes everything else a bit harder as everything needs to move with the desk while remaining stable. It also means you need to be careful with cable length’s and mounting things. I have 3 cables running to the desk. A single power lead and two Cat 5e’s one for my Macbook Air and one for my Atem Mini.
Monitor – Dell UltraSharp 49 Curved U4919DW
The Monitor dominates my entire view and its huge, no other way to describe it. Its the equivalent of 2×27″ Monitors sat side by side and runs in 5120 x 1440 at 60 Hz. My Mac is connected via USB-C This helps in reducing the cables on the desk. The Monitor offers a number of USB ports which offer a convenient place to plug my Yubikey as my Mac is placed out of reach. The Monitor has the typical inputs you expect and has a nice picture in picture feature that I sometimes utilise with the Atem Mini. The Atem outputs via HDMI as well as USB-C and I utilise this to check the preview output that will be viewed.
Monitor Arm – Ergotron MX
The Dell Monitor does come with an included stand but It took up a large footprint on my desk. Due to the size and weight of the Dell U4919DW (The Screen is 11.4KG), it heavily limited the choice of stands that were suitable.
I settled on the MX from Ergotron and its perfect. The springs did need tightening to accommodate the weight but once that was done it holds the screen where it’s set. (I slightly change the position depending on if I’m standing or sitting at the desk.)
Camera – Canon EOS 5D MkIV
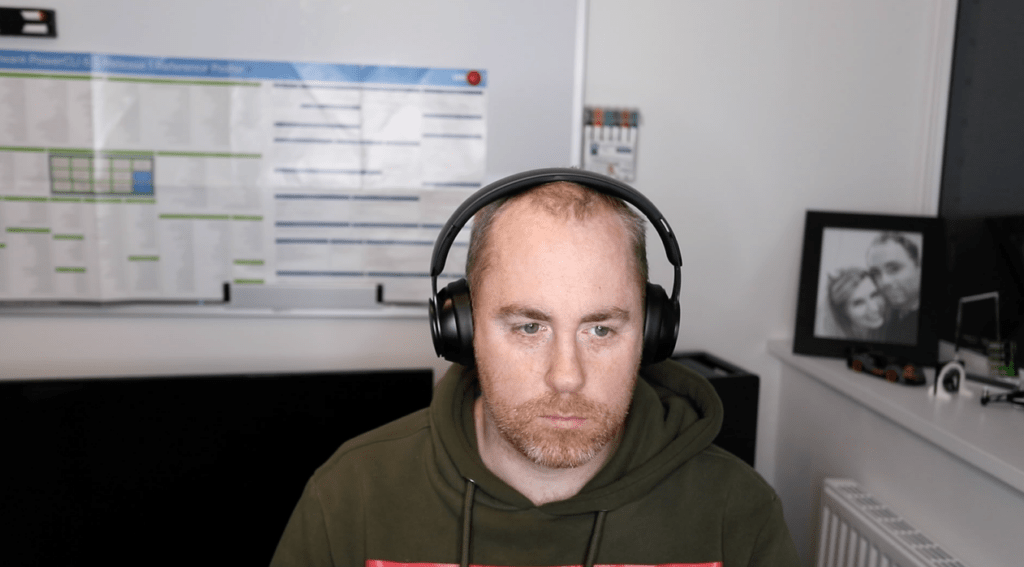
I have had a variety of Canon SLR’s over the last 14 years and the 5D is certainly the best, It is an exceptional piece of kit. It offers a number of key features that I can utilise. One of the advantages is that it has a clean HDMI output. This is fed directly into the Atem Mini. It has excellent focus capabilities using the Dual Pixel CMOS and this combined with AF subject tracking allows me to always be in focus.
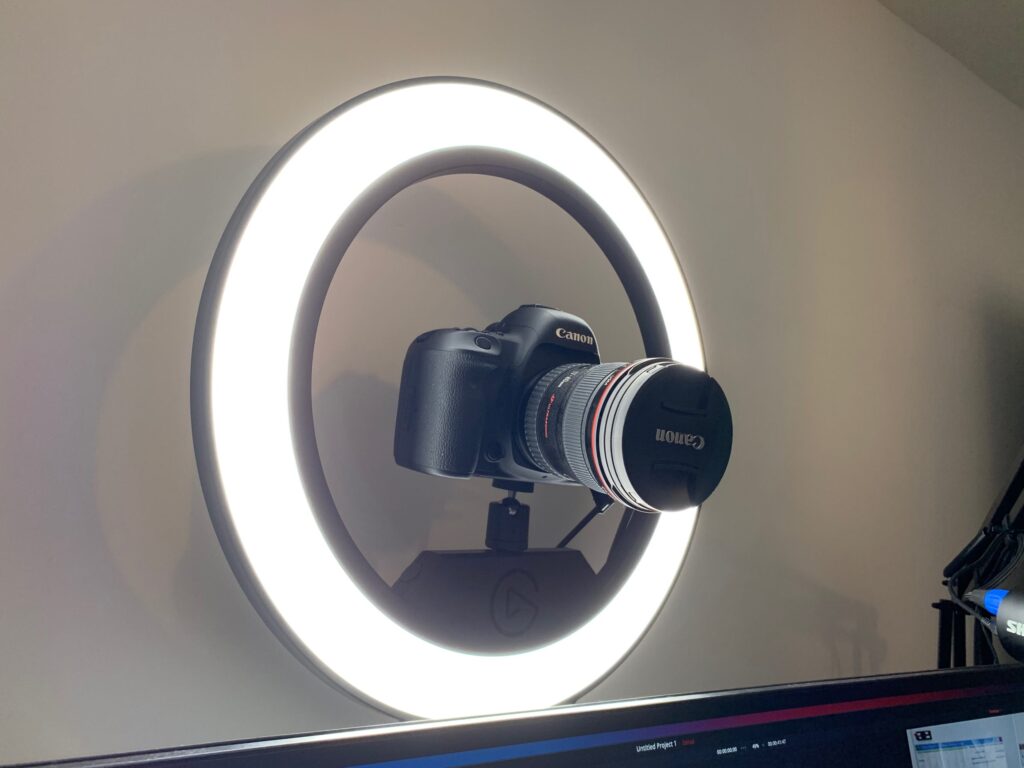
The 5D also has WIFI control capabilities allowing me to both preview or amend any of the settings from an app on my iPhone. This is useful for amending the audio gain or exposure options if needed. This is a bit of a pain to do without the app so its a big advantage. Coupled to the front of the 5D I have a Canon 17-40 F4 L lens. I tend to have this wide open to throw the background out of focus a bit.
A sample image is below.
Lighting – Elgato Ring Light
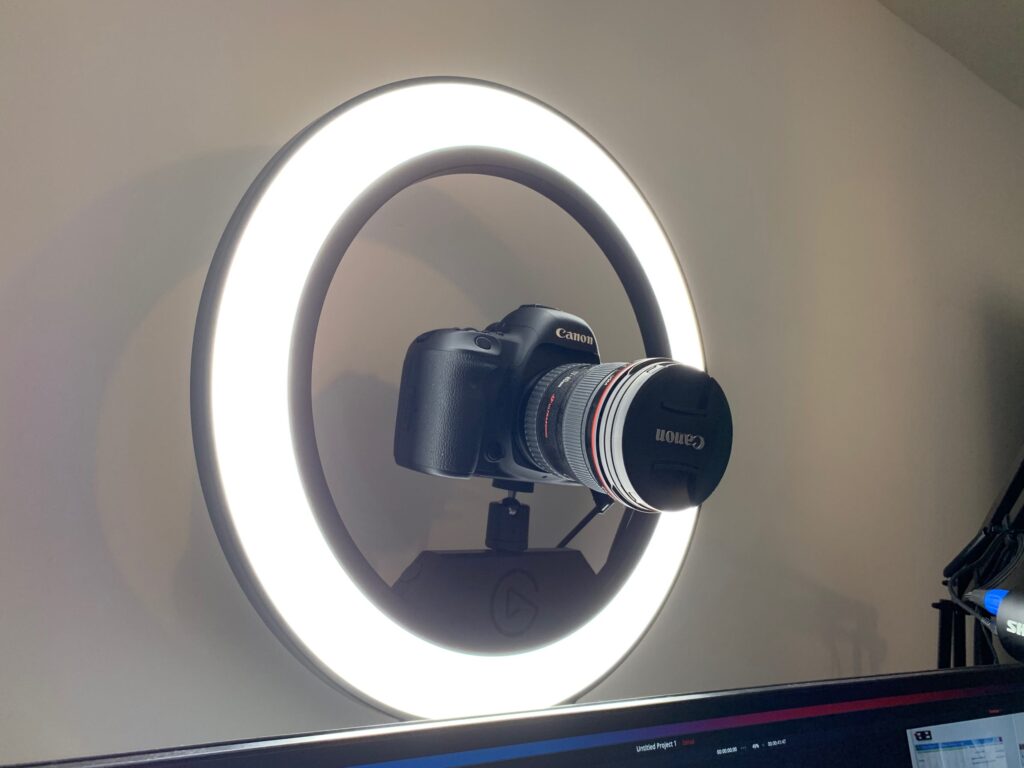
The Canon 5D is mounted in the centre of an Elgato Ring light. This is clipped to the back of the centre of my desk. I have it set to 5700K in the above picture which seems to be the colour temperature that’s most neutral. A picture of what it looks like from my point of view is below.
Sound – Shure MV7
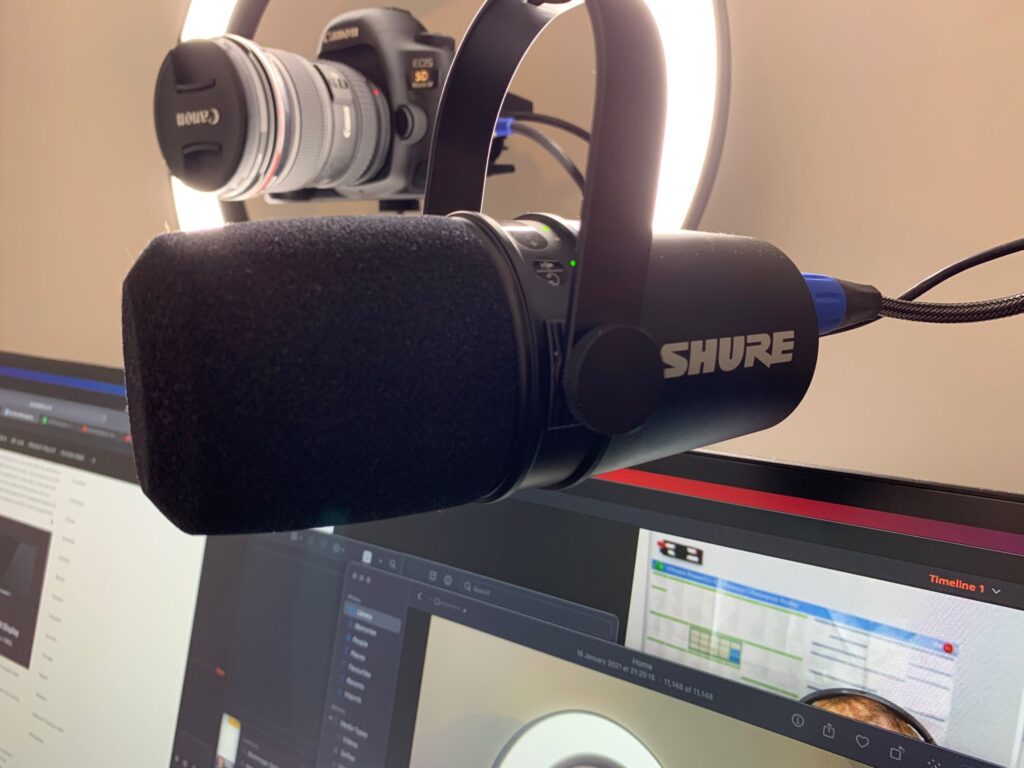
Shure are probably the most famous name in microphones, the MV7 is a slight departure from the professional-grade microphones like the SM58 that they are famous for. This is because the MV7 is a dual output mic with a USB-C as well as a standard XLR output. It’s also capable of outputting to both at the same time. This gives me the flexibility of recording directly to my Macbook if needed or my prefered route into the 5D. This is prefered as it removes any possible sync issues between audio and video plus has the added benefit of being capable of being recording within the 5D as well as on my Macbook via the ATEM.
Video – Blackmagic Design Atem Mini
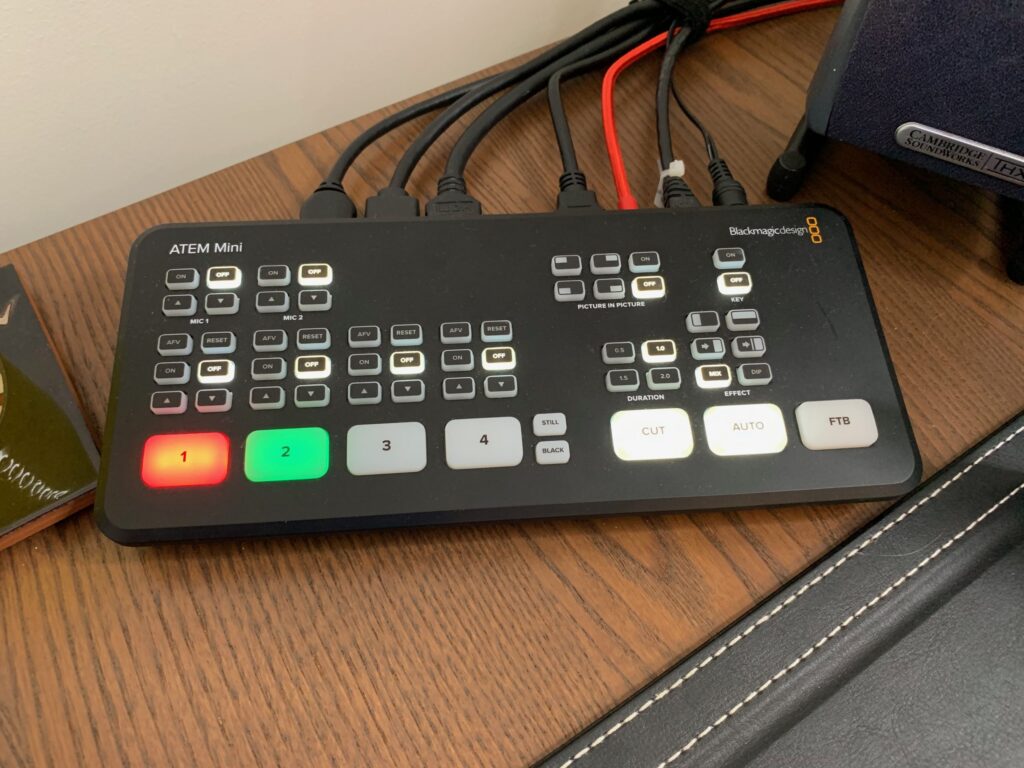
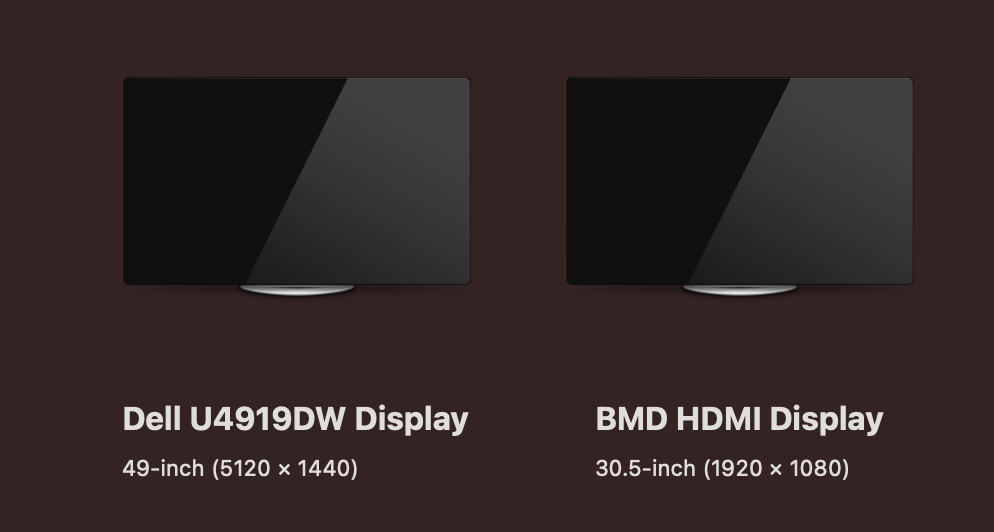
The ATEM Mini is the centrepiece of the media part of my setup. It controls all of the inputs and outputs. Although its the most basic in the ATEM range its got a pretty advanced feature set. It has 4 HDMI inputs and I typically use 3 of these. They are for the 5D, Macbook Air and iPad Pro. The mixer then has two distinct outputs. One is HDMI and the other is USB-C which is plugged back into my Mac. The connection into the Mac signals as a USB Webcam. This makes it easy to use in any application. It also does a very neat trick that John Nicholson pointed out to me. As well as pretending to be a webcam it also shows up as an external monitor. Where this becomes insanely useful is for apps like PowerPoint. Powerpoint detects the second monitor and presents the full screen to the Mini that the audience see. But I retain the presenter view on-screen with presenter notes timings etc.
The ATEM also has upstream and downstream capabilities, allowing for the mixing of multiple video screens.
The example here is taking this presentation being run from my iPad and overlaying it over the Camera input. I will do a separate post with some info on how It was put together and add some audio.
If you have read this far and you have been paying attention you may have noticed that a Mac Mini has appeared on my desk.
Yes, I snuck in one of the new M1 arm based Mac’s. I must say I have been blown away by the performance of it. I decided to go for the 8GB of Ram with 512GB disk option after watching a number of YouTube videos. So far it has been able to handle everything I have been throwing at it with ease.
I will do a separate post concentrating on the M1 once I have lived with it for a bit longer. One feature that appears not to work is the ATEM mini dual display described above. Further investigation is required.
Future purchases
Elgato Streamdeck
A lot of people have these and its something I would strongly consider. I purchased the software version and run this on my Ipad pro. I think this was a sensible thing to do to see how it can be used with the various integrations and although it’s a simple concept I have been very happy with it and will likely upgrade to a hardware version at some point.
Herman Miller Aeron
When travel was a thing I was lucky enough to visit a number of customers in the high tech/financial industry. This allowed me to “sample” a number of quality seats. The best of which has to be the Aeron. It has an amazing reputation and a large price tag to go with it. So, for now, it’s just on the wish list.
*The Beats Solo’s were a gift as part of the Veeam Vanguard Program. I didn’t purchase these with my own money.
